Project Brief:
The goal of this project is to design a ride-on toy for 2-3 year old children. Aesthetically the little rider should have playful and fun characters with consideration of its targeted users—-no sharp edges or pointy corners, with appropriate dimension, safe, durable and easy to operate; it should also be simple and modern to fit in houses and for parents to assemble and recycle. Material wise I hope to use natural high quality material that no only safe for children and family but also good for the environment (wood and leather). There are too many “high end” toys designed for rich kids. I hope I can make a simple rider that is affordable, durable but most importantly, very well designed and well made, for every child.
Targeted age: 2-3 year old toddlers or children with similar physical development.
Developmental Milestone of a 2-3 year old:
Physical
• Legs grow faster than arms,
• Posture is more erect; abdomen no longer protrudes.
• can jump from low step
• can stand up and walk around on tiptoes
• Needs to consume approximately 6,300 kJ (1,500 calories) daily.
Motor development
• Walks up and down stairs unassisted, using alternating feet; may jump from
bottom step, landing on both feet.
• Can momentarily balance on one foot.
• Jumps on the spot.
• Pedals a small tricycle.
• Throws a ball overhand; aim and distance are limited.
• Catches a large bounced ball with both arms extended.
• Enjoys swinging on a swing.
• Shows improved control of crayons or markers; uses vertical, horizontal and
circular strokes.
• Holds crayon or marker between first two fingers and thumb (tripod grasp), not in
a fist as earlier.
• Can turn pages of a book one at a time
Build Day: the purpose of the build day is to make a quick full scale prototype to understand dimension, structure and proper mechanism and safety issues without paying too much attention on styling and material choices.
Yesterday was such an eventful day. First it was very stressful when we were put into random groups to make prototype toys. Then we were told that four children will be brought in our classroom at the end of the class to test out our prototypes by riding on them! We had serious broke down several times when we thought we will not be able to make it. But all of us made it! It was a sincere happy moment when little kids riding on our models.
I found it very interesting how kids may interact with handles, seats and paddles differently from what we intended. I also learned a lot from others work. The kids are super cute and I can’t wait for them to test my final design at the end of this project!
After build day, we started to work on our own project. I teamed up with Daniel Morgan to make a little airplane. We choose airplane because what kid doesn’t want a rider with wings?!
Here’s little designer profiles for y’all. 
My partner Dan and I made this sketch model to scale. We want to make a plane reference for our ride-on toy and hide two training wheels under the wings. so where children are free to turn but they don’t have to worry about falling.


 My partner Dan laser cut these models for inspiration.
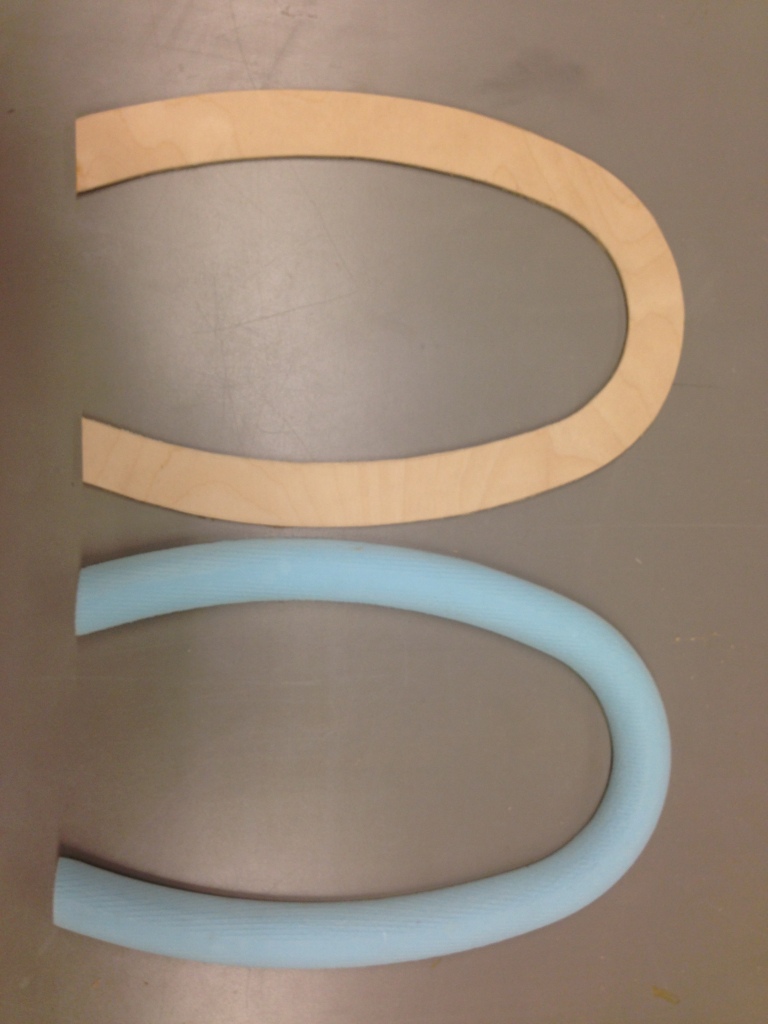
  Another round of sketches to figure out how to get the plane reference with plywood without making it too heavy.
 Building second 1:1 scale model with my partner Dan.


 Thanks to our teacher Ayako we had the little ones to test our design again!
 Last testing model:

After this testing model, we have a pretty good idea how to improve our final model. So here is the process of making our little airplane:
Dan worked on solidworks to prep all the files for laser cutting. We used 1/4” plywood for the bones.
I upholstered the nose—a new feature we added to the new model for shock reduction while using leather strategically. 


 Dan made the file for the skin.
 I cut the skin using 1/8” bendy plywood on bandsaw and sand down to line.
 Dan CNCed the wings using blue foam.
 I made the handle bar.


Then we worked together to assemble everything. After shop hours, we needed clamps! So we became human clamps XD

Final Model:
Juno, 4 year old (a little older than our target group)
Hue, 2 year old.
 Reference:
http://en.wikipedia.org/wiki/Toddler


